Showing posts with label San Valentin. Show all posts

Monday, February 11, 2019

Jessica Lynn Original Stamps Guest Designer for February


Hello my friends!!! I am so happy today to be a Guest Designer for Jessica Lynn Stamps. That is one more reason why I loove social media specially Instagram... You post and create and you never know what is going to happen with the things you post... Maybe one day you wake up to an amazing message inviting you to Guest Design, the next day you make a new crafty friend, or the next day you realize an amazing comment totally cheer you up on a terrible day!!! 
My card today was totally inspired by the love that is in the air....


CARD DETAILS:

To start with this card I cut the base with the Gina Marie Ric Rac Nested Rectangle Die and used Oxide Inks first with a layer of Spun Sugar very light, then with Worn Lipstick and finally with Candied Apple... I splash a little water to this panel.    
I had a blast coloring this sweet Puppy from Jessica Lynn Original called Hot Dog Dachshund with Zig Markers in colors Oatmeal, Brown, Beige, Yellow and Wine Red.


To finish this cute card I used Nuvo Glimmer Paste Moonstone with a heart stencil leaving the part for the sentiment without the glimmer paste.  I stamped the sentiment and add some sequins in the doggie colors.  I adhere this panel to a black card base for contrast...


He is the cutest little doggie ever!!! Check out all the Jessica Lynn Original stamps at her Shop HERE.
I hope you like my card have a wonderful day!!!


Wednesday, January 18, 2017

Sweet Hedgehogs

Hello my lovely friends!!! Today I want to share a card I made with the cutest couple of hedgehogs from Sunny Studio Stamps...I started my love cards earlyand I am Loving making them, I specially love kissing critters... I don't know why?


For this cute card I used:
Sunny Studio stamp set Woodsy Creatures
Sunny Studio Sweet word die
Distress inks in colors Squeezed Lemonade
Peacock Feathers
We R Memory Keepers Geometric embossing folder 


I first die cut my heart "stencil" from some cheap cardstock

I did a very light ink blending starting from the bottom with Squeezed Lemonade
and in the up part of the heart with Peacock Feathers and it turned out exactly how I imagined!!
  
I used the great We R Memory Keepers Geometric embossing folder to create this great 
effect on the first layer of my card... it look Awesome...( I think)
for an even raise on this panel I used some white fun foam 


I used Peacock Feathers distress ink to give a little color to the die cut word SWEET
I started to blend from the bottom to the up part of the Sweet die word to give it a little color.


I colored the cute hedgehogs with markers and punch a heart from a red glitter paper.

I hope you can be inspired by this little tutorial and card to start your love projects... we are almost only 3 weeks away from Valentine's day!! 
I don't know you.. but I think time is flying... yesterday, I just took away all the Christmas Stuff....
Well have a nice and lovely day!!!


Hugs


Waleska

Friday, January 13, 2017

Monkey Love

Hello Crafty Friends Waleska here....
 This is my first post in the Craftin Desert Divas blog as a DT Member
I am so excited!!!

Valentine's Day is approaching fast and I was inspired by all the love 
that is already in the air for this card.


 I used the following Craftin Desert Divas products:
Lovies
Build a Scene
Simply Said
Fancy Frame Dies

http://craftindesertdivas.com/lovies/
http://craftindesertdivas.com/build-a-scene/
http://craftindesertdivas.com/simply-said/
http://craftindesertdivas.com/fancy-frame-dies/

I first colored my background piece with Candied Apple Distress Ink
I use Versafine Onyx Black Ink and Clear Embossing Powder for my images
 I colored my two lovely monkeys with markers and the trees with Mowed Lawn and Rusty Hinge
Distress Inks, for the Sky I used Broken China.


I wanted to create a scene where the monkeys were hugging on top of the trees
How cute they look up there?


Thank you so much for stopping by I hope you can be inspired to start
your love cards with this cute and lovely images.

Don't forget our January Release is coming soon join us in our special Event Facebook Page
https://www.facebook.com/events/1247691581964535/
for lots of sneak peeks and freebies also invite your friends!!

Have a wonderful Day!!!


Thursday, January 28, 2016

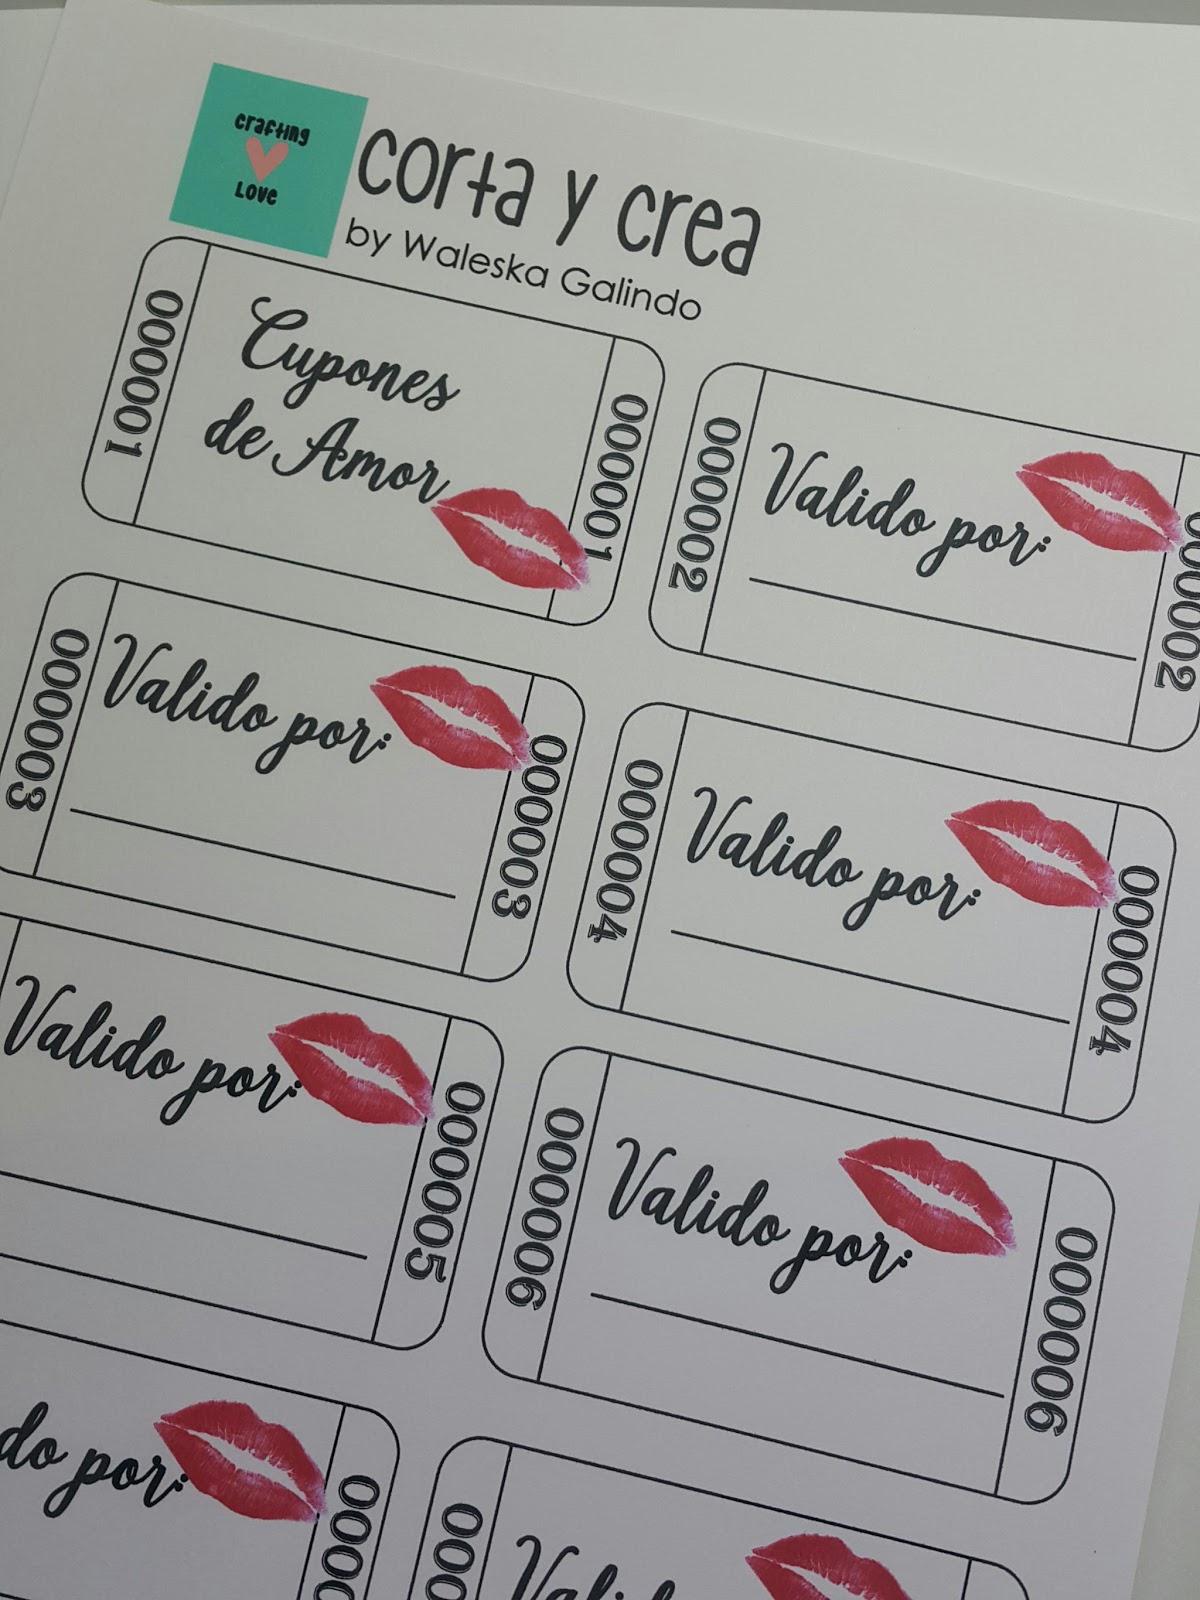
Cupones de Amor


Ahora que estamos por empezar el mes del Amor y la Amistad recordé un regalo que le di al amor de mi vida hace algunos años.... la fecha exacta, no la recuerdo, mi memoria me falla el 99.9% de las veces que quiero recordar algo, pero recuerdo que fue en uno de esos primeros años de matrimonio en los que el dinero es escaso y el amor abunda.... y como regalo del Día del Cariño le di unos Cupones de Amor que le encantaron y quede Super bien con el.... hasta la fecha después de 8 años aun los guarda.... 


Ahora les comparto unos cupones que hice por si les interesa ponerse Románticas y Creativas


Download aqui:
https://docs.google.com/uc?export=download&id=0B5Zr4C5mSR04Zll6MjhTaVpHRkk

Hay que hacer click en el enlace anterior, los descargan e imprimen.

1. Les cortan un fondo puede ser rojo, rosado o el color que quieran dejando espacio en la parte superior para los agujeros y poder sujetarlos con listón.
2. Con una perforadora le abren agujeros en la parte superior a cada uno.
3. Compran listón de colores, (con 2 yardas es suficiente) pueden combinar 2 diferentes tipos de listón para que se vea mas bonito. Unen todos los cupones con el listón.
4. Los llenan con todas las cosas románticas que quieran ;) 

Espero les guste....

Waleska