Sunday, February 25, 2024

Hoppy Easter Card/Scrappy Tail Crafts

Hello Friends! I am back with more Easter inspiration for you! Today I created a card using the new Easter Egg 4 Layer stencil and the Easter Lamb Add on, I love this soft colors and sparkle together.


PROJECT DETAILS:

To start this adorable card I cut a 5 x 7 piece of kraft cardstock and started layering the Eastern Egg Stencils.  For the first two layers I used white pigment ink and for the other two I used Glitter paste, I left this piece to dry and started assembling the cute lamb.  I cut a white circle and add all the elements to create the Lamb, I ink the edges of the lamb with Kitsch Flamingo Oxide Ink.


I finally added the sentiment from the Carrot Patch Bunnies stamp and adhere the main card to a white card base I hope this inspires you to create some Easter Projects!! Have a wonderful day!


                                             

Sunday, February 18, 2024

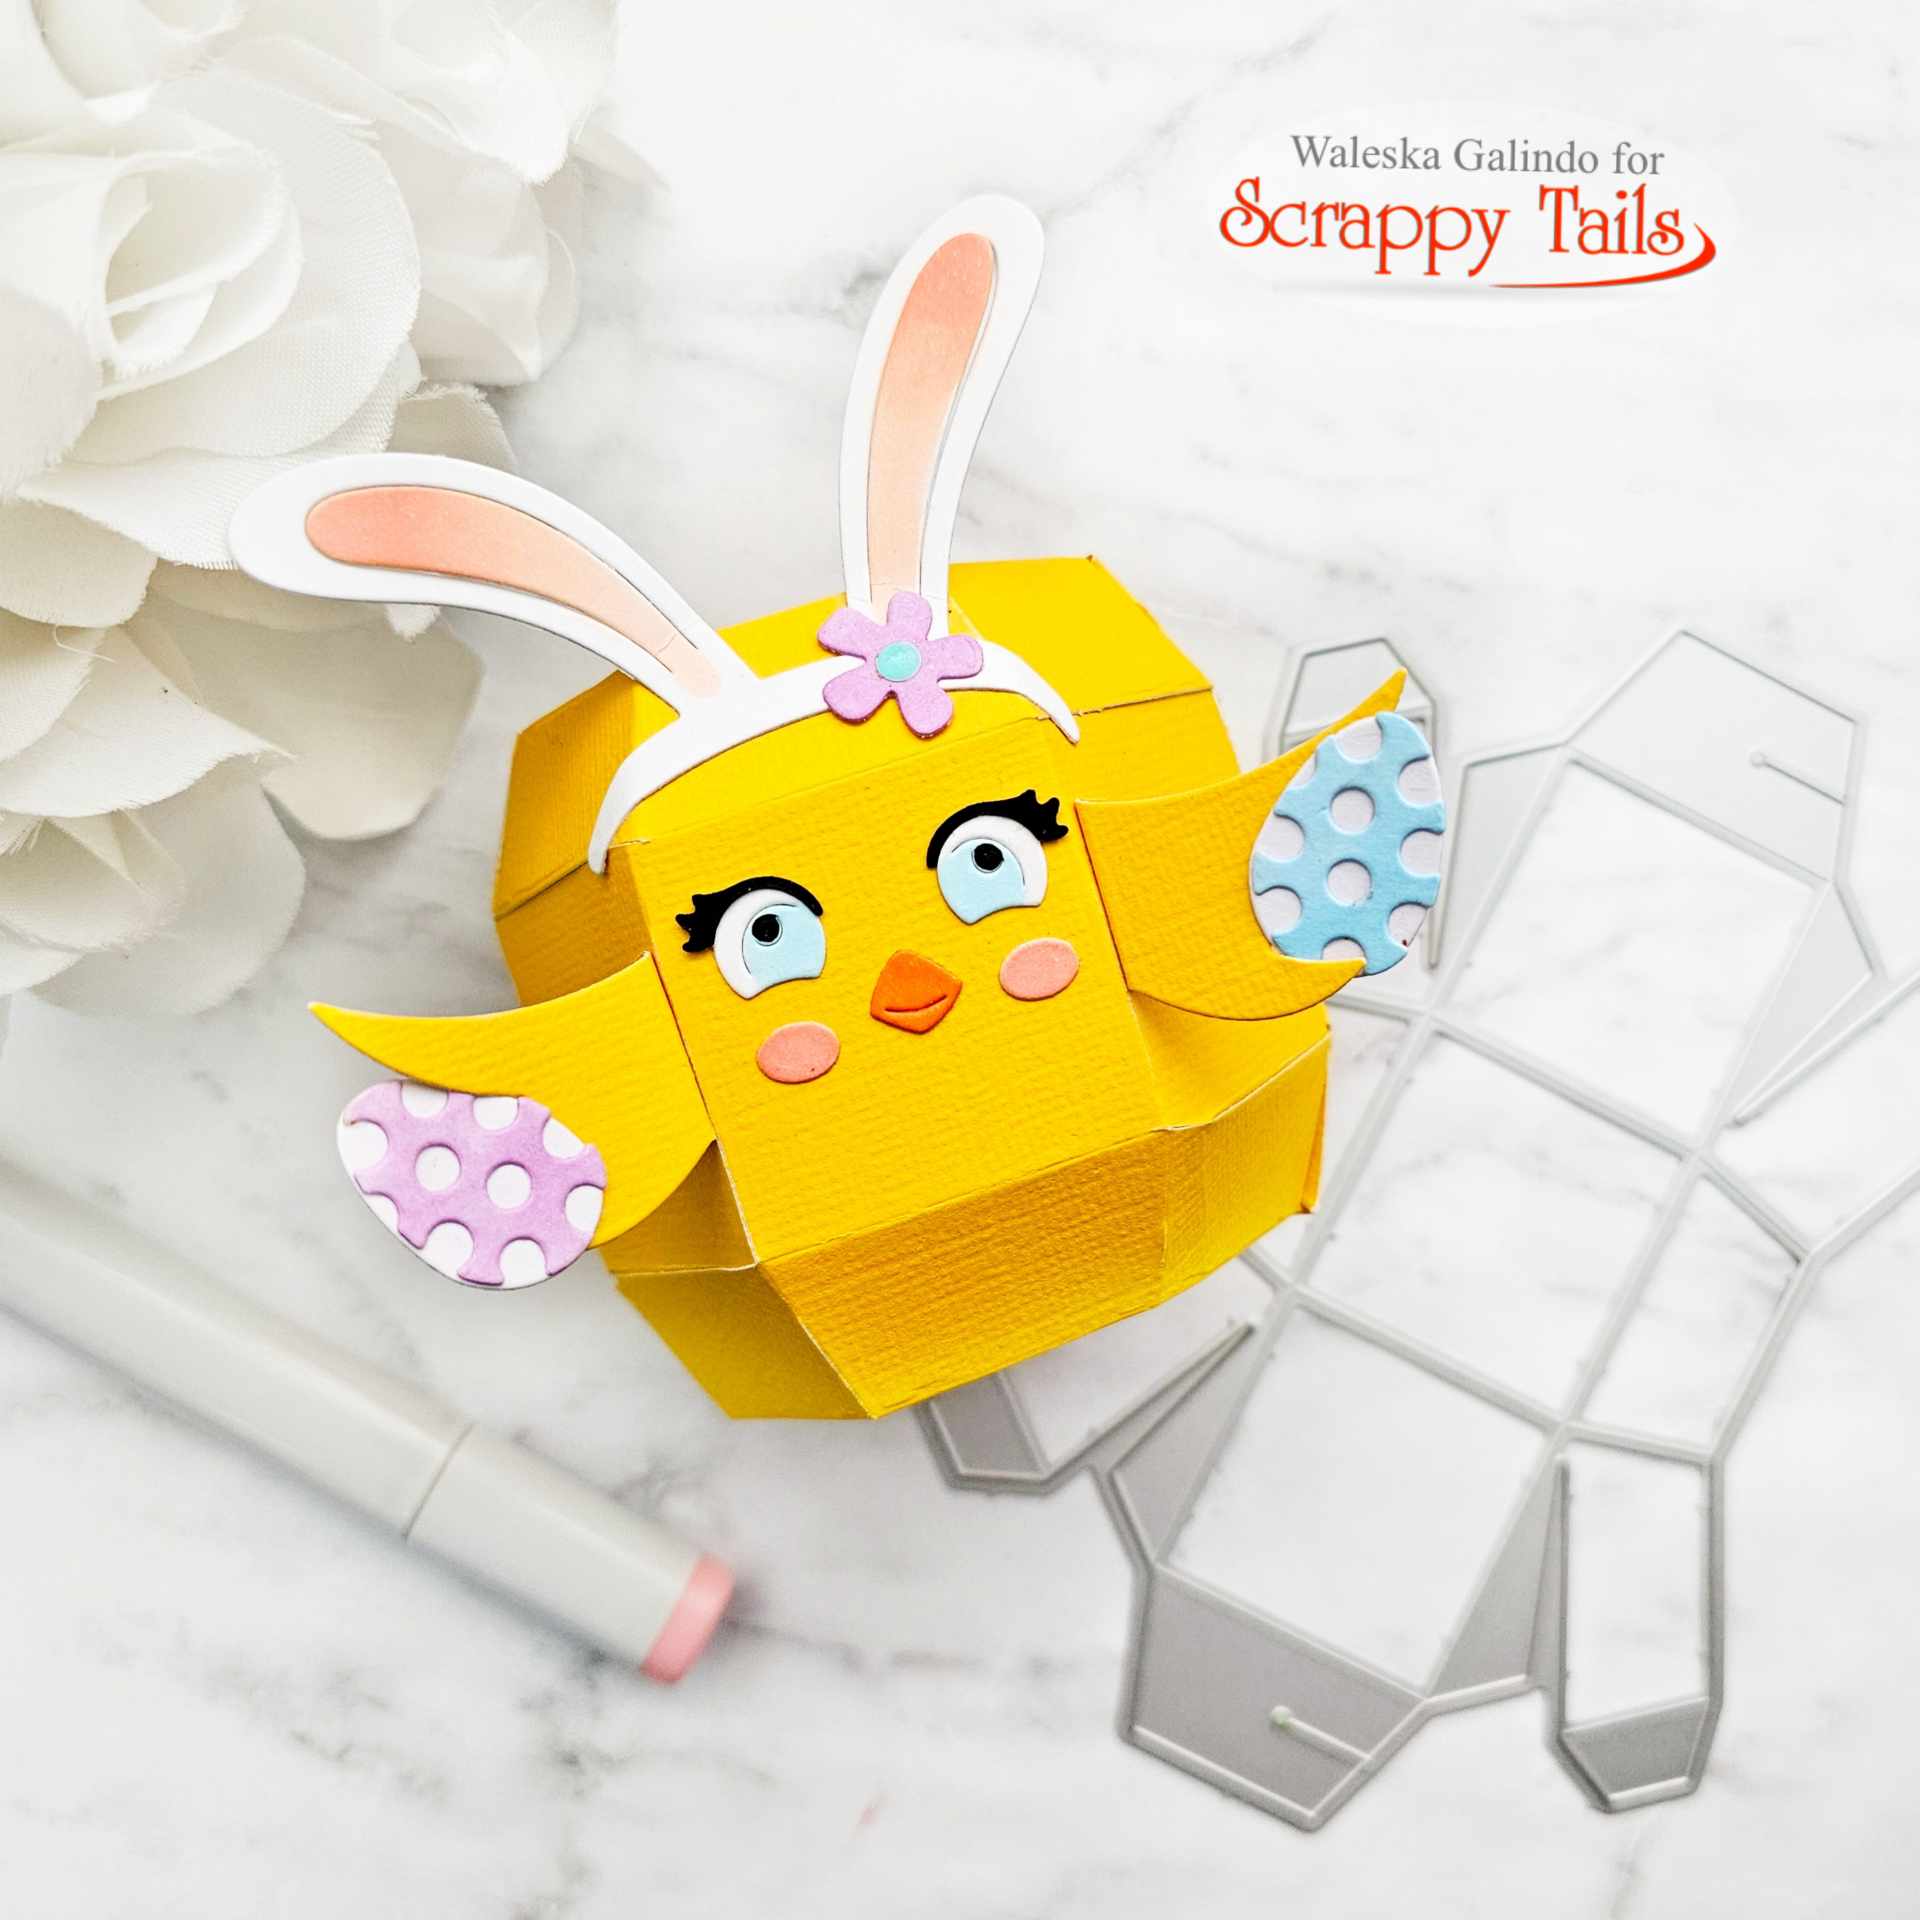
Easter Chick Box/Scrappy Tail Crafts

Hello Friends! I am happy to be back to share inspiration using the new Easter Blessings Collection, this project is super adorable and colorful...  There is something for everyone! Check it out at the Scrappy Tails Shop.


PROJECT DETAILS:

To start this cute box I die cut the Easter Chicks Add On for the Pumpkin Pop Up Card Die
with yellow cardstock, I also used different colors of markers to color the different elements of the face. In my opinion is so much easier to cut everything from white cardstock and then color it.  This Pumpkin Pop Up die is so much fun and there are so many add-ons you will love it. If you want to know how to assemble this die check out the Scrappy Tail Youtube Channel.


Are you creating Easter projects? The new Easter Bunny, Easter Lamb, Leprechaun and Lucky Gold Pot  add ons are great!  I hope this inspires you to create some Easter Projects!! Have a wonderful day!


Saturday, November 25, 2023

I'll be home for Christmas/Scrappy Tail Crafts

Hello Friends! I happy to be back to share more Christmas inspiration for you! This Christmas card is very colorful and I was inspired by one of my favorite Christmas song "I'll be home for Christmas"... The recently released Christmas Collection is amazing! There is something for everyone! Check it out at the Scrappy Tails Shop.

PROJECT DETAILS:

To start this card I die cut the Round Swirl Snowflake Ornament Craft Die with red and silver cardstock I added some shading with Oxide inks Lumberjack Plaid and Vintage Photo.  I then cut the Layering Christmas Bug Craft Die with a light blue cardstock and used Salty Ocean Oxide ink to shade it.  For the Christmas tree I used Rustic Wilderness Oxide for the shading.


I then cut some mat layering pieces from red and green cardstock in the same shade I used before and added the same oxide inks to create more dimension, I finally used some splashes of  sparkle watercolor to create the snowlike feel.  Such a fun scene!  I hope this inspires you to create some Christmas cards!  Have a wonderful day!


Saturday, November 11, 2023

Cute Christmas Penguin Friends/Scrappy Tail Crafts

Hello Friends! I hope your day is going great! Today I wanted to share a very colorful Christmas card... What is more adorable than two cute penguins?  This recently released Christmas Collection is amazing! There is something for everyone! Check it out at the Scrappy Tails Shop.


PROJECT DETAILS:

To start this card I die cut two penguins from the Layering Penguin Duo Craft Dies this are super easy to assemble and so so cute! I used black, white, orange and blue cardstock for the big pieces and for the small pieces I used white cardstock and colored it with copic markers.  I then cut a piece of 5 x 7 white cardstock to create the scene.  I used Oxide inks in colors Tumbled Glass and Kitsch Flamingo, I used some splashes of water and sparkle watercolors too.


I then cut the A7 Festive Garland Cover Plate from green cardstock and adhere it to the scene I already made for this two cute friends! I finally adhered the penguins and used white acrilic paint mixed with water to create the snow on the card.  I added the sentiment from the Christmas Icon Stamp Set and some snowflakes to enhance the scene!  Such a fun scene!  I hope this inspires you to create some Christmas cards!  Have a wonderful day!


Sunday, October 8, 2023

Spooky House/Scrappy Tail Crafts

Hello Friends! My favorite month is already here! Today I wanted to share a fun spooky project!  For this Halloween slimline card I used some old and new products.  Check out the new Halloween products at the Scrappy Tails Shop.


PROJECT DETAILS:

To start this slimline card I die cut the Slimline Pop Up House and I inked it with Oxide Inks in colors Fired Brick and Aged Mahogany I then cut the Slimline Brick Background die with kraft cardstock and inked it with Vintage Photo and Ground Espresso I used the same colors to inked the top of the house and the door.  I then cut the Halloween Spooky Window Lantern Panel dies and cut them to fit in the the house, I colored the images and used Vintage Photo Oxide Ink.


Finally cut the cute ghosts from the Friendly Mini Ghosts dies and adhered them all over the haunted house I also used some elements from the A7 Storefront Halloween House.  I love all the details from this Slimline card! So much Spookiness fun!
I hope this inspires you to create some spooky cute Halloween cards! Have an amazing day!


Sunday, September 24, 2023

Spooky Cute Jack O' Lantern Shaker card

Hello Friends! I hope your day is going great! Today I wanted to share a very colorful Halloween card... Who says Halloween is for dark tones? This recently released Halloween Collection is amazing! There is something for everyone! Check it out at the Scrappy Tails Shop.


PROJECT DETAILS:

To start this card I used the Wonky Spiderweb Stencil with Oxide inks in colors Carved Pumpkin, Picked Raspberry and Mustard Seed, I tried to blend this tree colors very well.  I then cut the Jack O' Lantern Pumpkin Metal Die with orange cardstock.  I then cut all the pieces to create a shaker piece in the center of his mouth, there are two options for the mouth I decided to use the Trick or Treat with white cardstock.  I also cut the top pieces and color them in brown and green.
I love all the details on this pumpkin... so spooky!


Such a fun die!  I hope this inspires you to create some spooky cute Halloween cards with the new Halloween Collection.


Sunday, August 27, 2023

Spooky Cute Party Favors/ Scrappy Tail Crafts

Hello Friends! I hope your great! Today I wanted to share the cutest Halloween favors for your halloween parties this year, this are made with the newest released Halloween Collection! I loove this collection there is something for everyone.


PROJECT DETAILS:

These are very easy to assemble and all you need is cardstock and glue.  I started with the Vampire Add On, to create him I used a light blue, purple and black cardstock for the base of this party favors I used the new Pumpkin Pop Up die, for this base I personally recommend a heavy cardstock since you will be putting candy on them.  I cut all the pieces to create him and adhere them at the front of the piece, to finish these I used the handle from the Purse Pop Up die.


For my second party favor I choose the Frankenstein Add On I did exactly the same as the other one but this time I used Green and Black cardstock, Sabrina has some amazing Videos on the Scrappy Tail Youtube Channel if you want some detailed instructions on how to assemble this.  Thank you so much for stopping by today! I hope this inspires you to create some spooky cute Halloween Party Favors with the new Halloween Collection.